Rib Type Roof
What are Rib Type Roofs
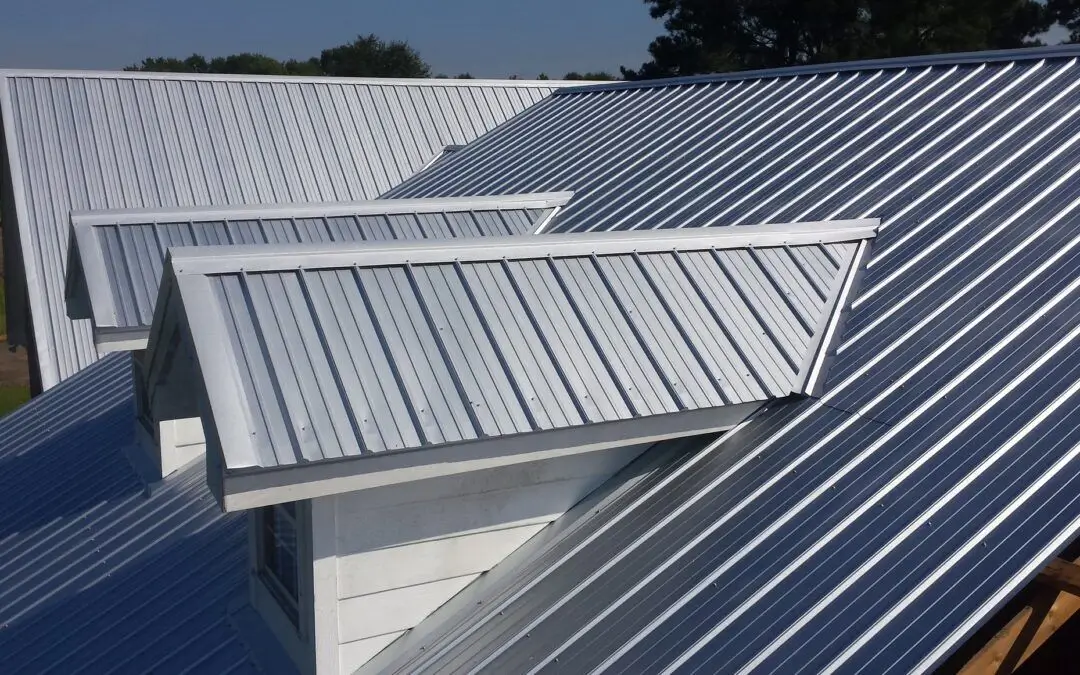
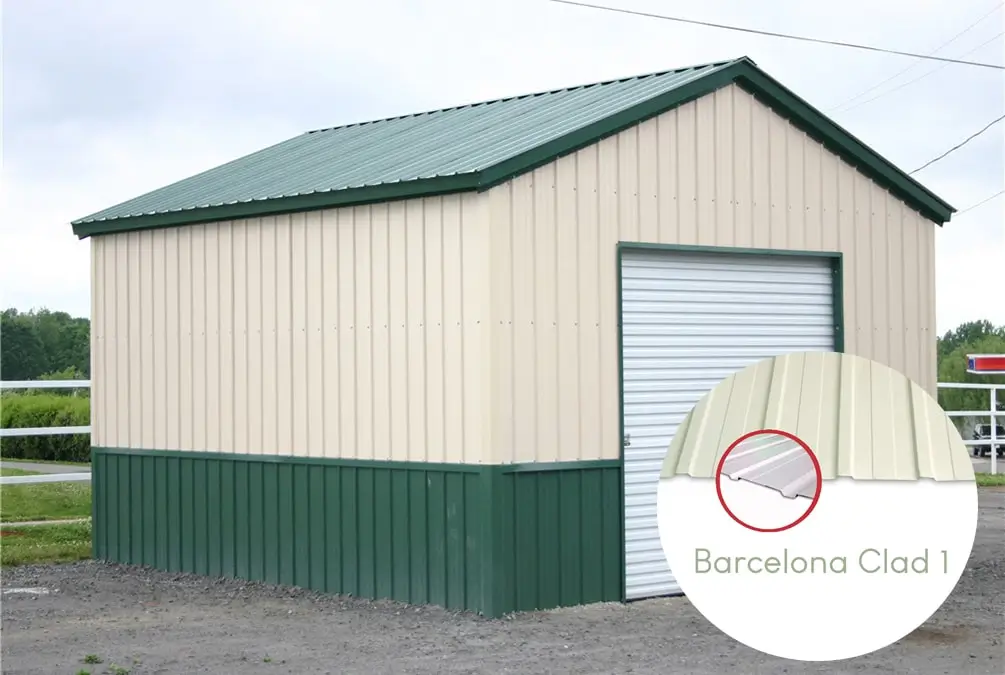
Rib type roof is a popular roofing profile when it comes to metal color roofing. Due to their long effective width, they offer cost-effective solutions to roofing systems. The term ‘rib’ is derived from having the metal sheet bended similar to a plateau shape which is followed by a long flat surface. This in turns forms a rib throughout the metal panel, hence the name.
Price of Rib Roofs in the Philippines
The cost of our rib roofs are as follows: 0.4 mm (Gauge 27) is ₱120 per foot, 0.5 mm (Gauge 25) is ₱150 per foot and 0.6 mm(Gauge 24) is ₱180. We also give various discounts depending on the size of the project. For the full details of the price of yero, you can refer to the link.
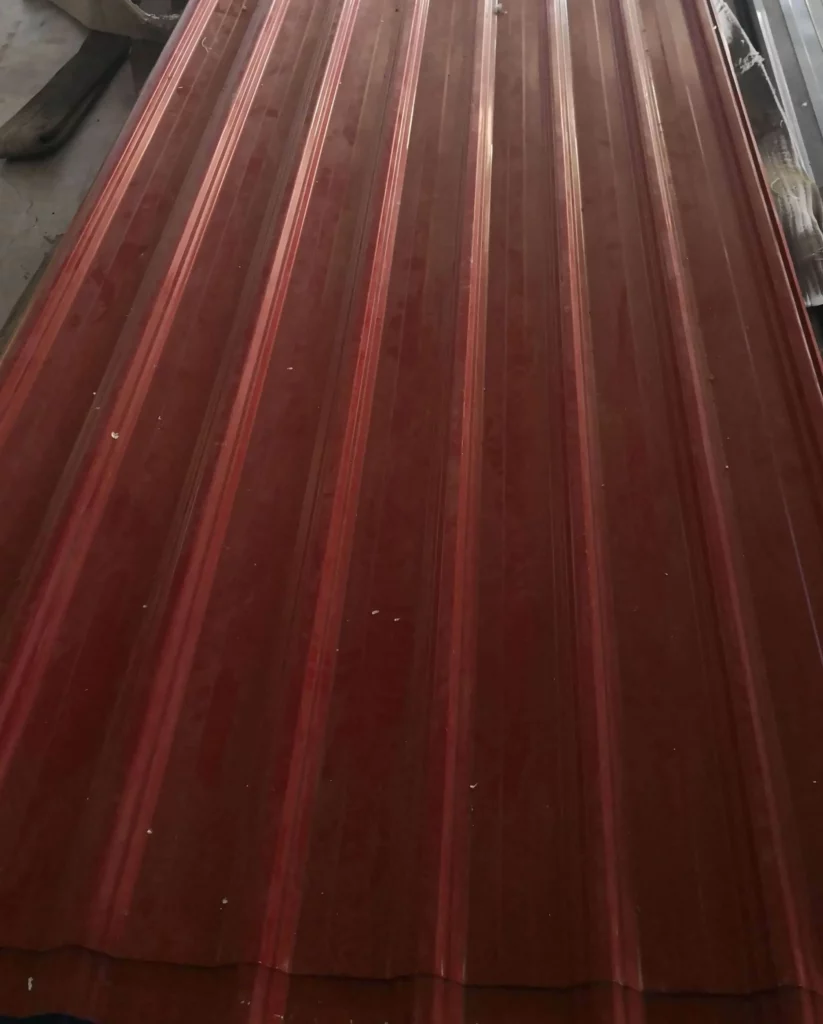
Different Kinds of Rib Roofs
Depending on the roofing supplier, the manner on how they are bended differs with each other. They mostly differ in looks, width and color. Deciding what to get can be easily influenced by the budget of the roofing project. Getting the design with the longest width results to a more cheaper cost.
The appearance and the color also varies depending on the vendor. On our roofing product catalog, we have several design of rib type roofs which can also have different colors.
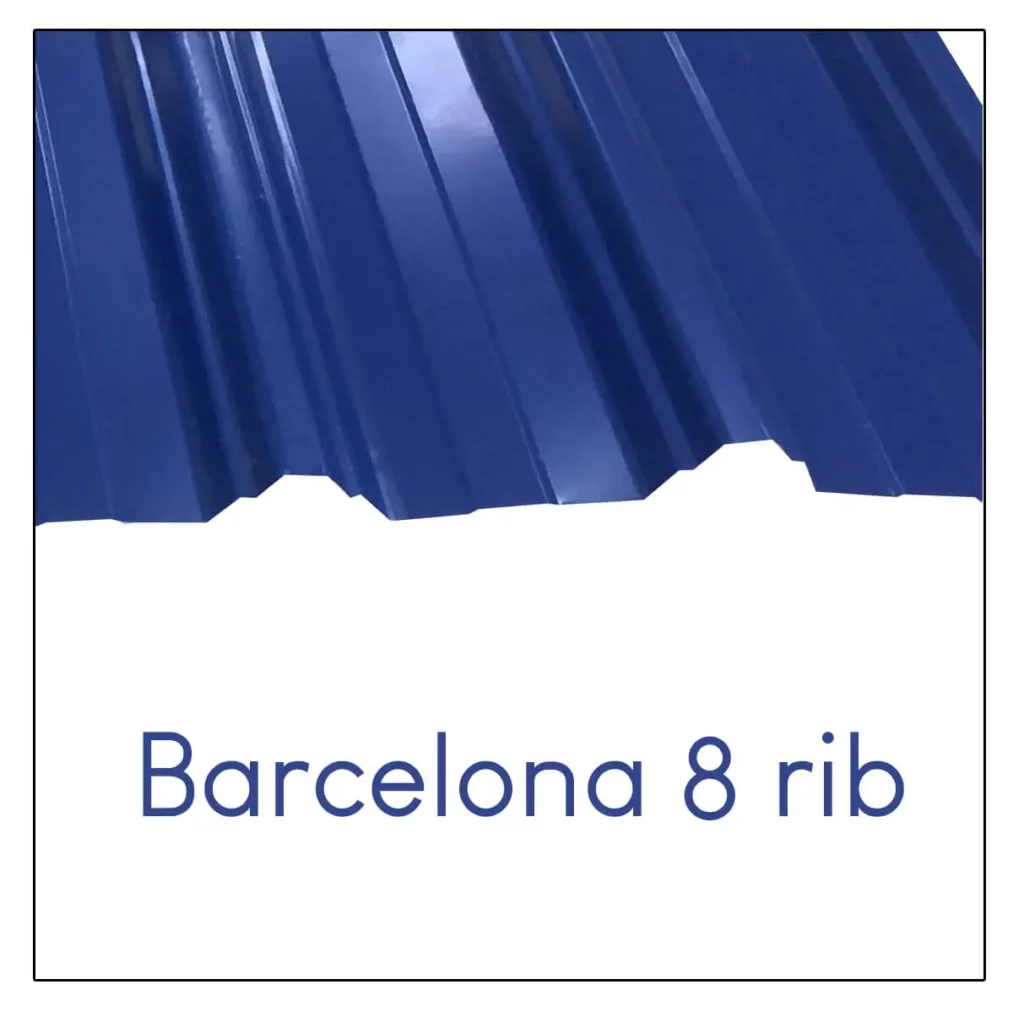
Rib Type Roof Specifications
On our product listing, there are various kinds of rib roofs. Below are some of the types we manufacture.
Advantages of Rib Type Roofs
Lower Cost
As what have been mentioned, they are the most cost-effective design across the different profiles. Having a longer width results to less required roofing materials to cover a designated area. This evidently yields lower total roofing cost.
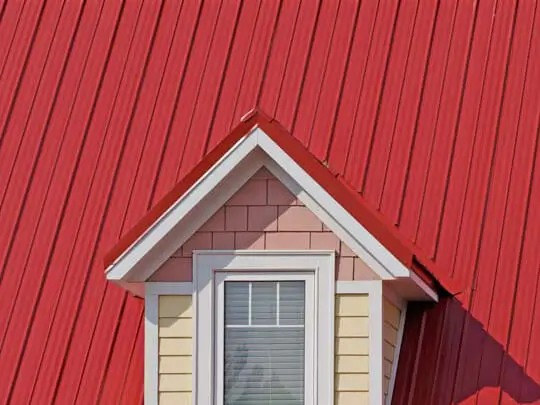
Various and Modern Design
In terms of their appearances, they are favored by homeowners when compared to corrugated roof types. Since corrugated roof are often related to having a traditional look, rib roofs offer an alternative profile to pick from.
Moreover due to their popularity, vendors are manufacturing it with different appearances. This allows roofing contractors to have the extra flexibility when deciding what to purchase.
Different Applications
The rib roof is not limited to residential types of projects. They are also vastly applied on industrial structures. One concrete example are warehouses. Due to their cost effectiveness and ease of installation, they are the number one go to pick when selecting the design of the roof.
Moreover aside from the roofing system of the warehouse, they are also applied on the “sidings”. This results on a type of application we call as cladding. Some more examples include poultry farms, cow sheds and stables.
Ease of Installation
Because of the way rib roofs are bended, the panels easily locked together when they are lapped. This favors roofing contractors as installing them will be much easier. This results to faster completion of the roofing system.
Disadvantage of Rib Type Roofs
One notable disadvantage of rib roofs are the weak area of its flat surface. This particular are prone to damages and is considered to be the weakest part of the metal panel. If an inexperience roofer stepped on this, the material may be damaged. Hence, it is alright to use this profile as long as it is handled with care.
Where to Buy Rib Roofs in the Philippines?
They are commonly sold in roofing or hardware stores with a pre-defined length. The usual lengths are 8-feet, 10-feet and 12-feet. However, these are “pre-cut” roofing materials and for large projects we do not recommend buying them.
Instead we suggest contacting a roofing supplier to measure the exact length of the structure. This method results to roofing panels having a cut-to-size measurement.
Steps in Installing Rib Type Roofs
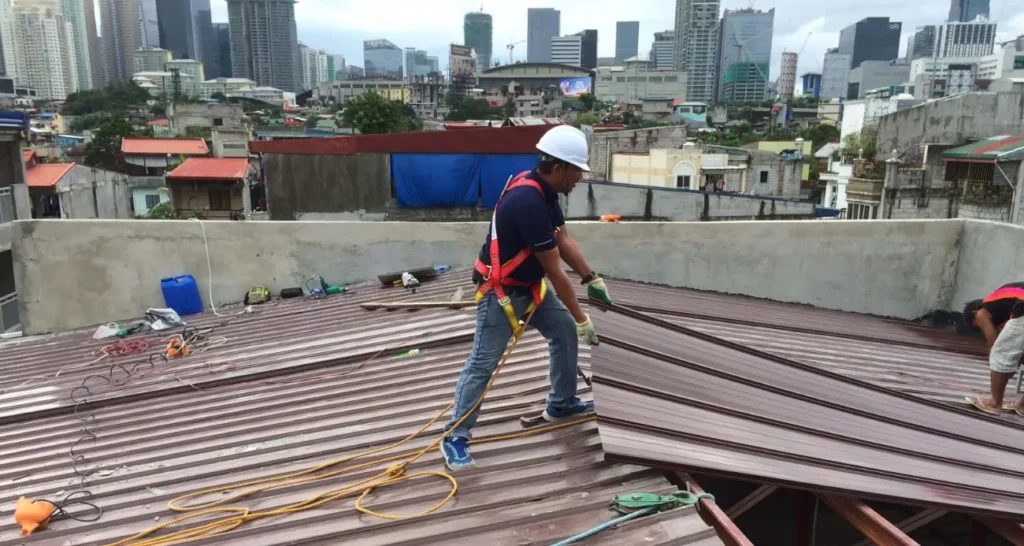
Step 1 – Safety Measure and Tool Checking
Before any installation procedures can occur, it is important to be equipped with the appropriate safety gears. These includes having a safety harness, boots, hard hat and handling gloves. Moreover, one of the essentials in safety is having a lifeline. A proper installed lifeline will prevent any unfortunate accidents when the roofer falls or slips from the roof.
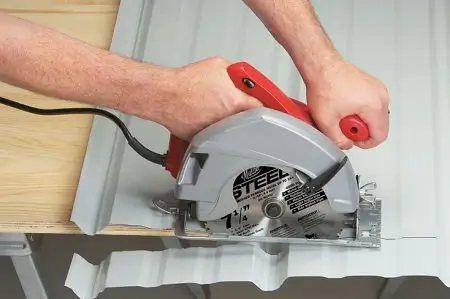
Aside from the safety gears, it is also important to check that all hardware tools required by the roofer is already with him. More importantly these are the fasteners (self-drilling screws), tin snips and the electric drill. This improves labor efficiency as it allows the continuous work of the roofer to install the panels. Lastly, a good utility belt is helpful when handling all these types of tools within the reach of the roofer.
Step 2 – Measure the Length
Before any hard heavy lifting can occur on the metal panels, it is important to do a last minute check on the length. This ensures that no cutting will happen when the panels are lifted up on the structure. Not only this will improve the efficiency of the roofer but also reduce the risk of any accidents from happening. Any procedures on top of the structure should only be reserved for lapping and fastening the panels together.
Step 3 – Lifting Up the Metal Panels
This step is considered to be the most tedious and dangerous across all the procedures. This mainly involves transporting the panels on the roofing system. Moreover, this procedure is highly dependent on the site structure. The more storeys a house has the more tedious the job will be. Lifting the panels can be done in different ways.
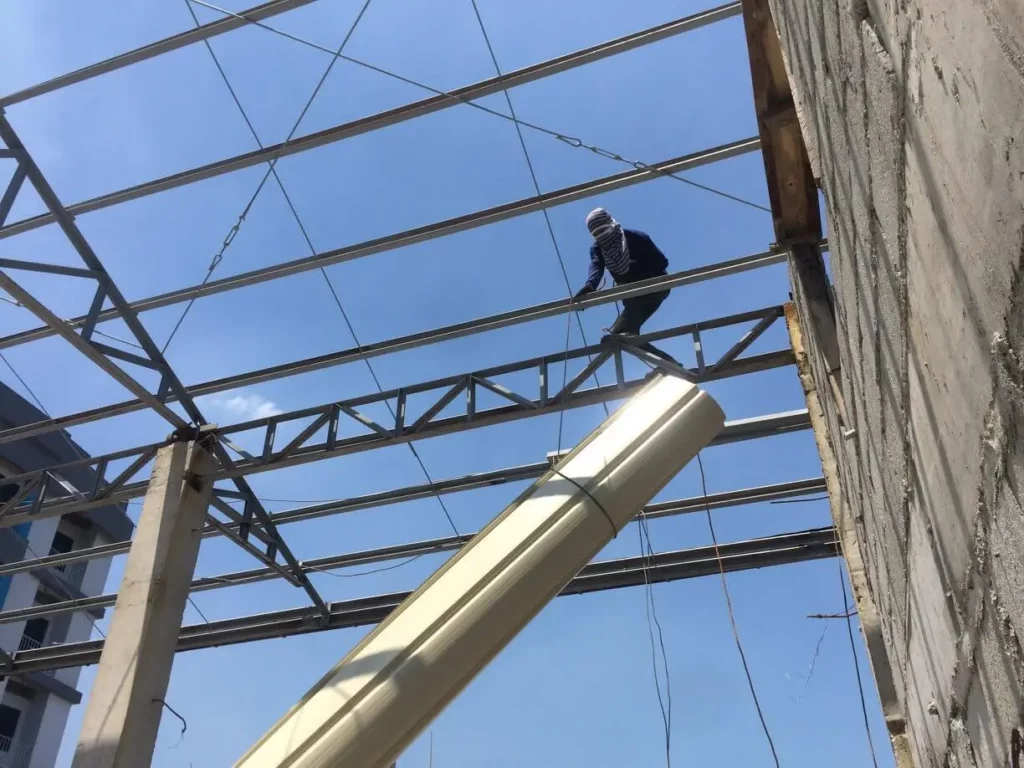
For residential projects, a ladder or a rope will do the job. For big industrial projects, a crane may be required to lift the roofing materials. Lastly, a ground personnel is required to guide the roofer pulling at the other end. Furthermore, this personnel is also responsible for preventing any bystanders from walking near the site during this delicate process.
Step 4 – Lapping
After the panels have been transferred at the top, it’s time to connect them with each other. It is worth mentioning again that this is one of the advantages of this design. Depending on the design of the rib roof, the number of ribs to be lapped varies. On our end, we only require a single lapping of rib when connecting two panels.
Step 5 – Fastening
Through the use of self-drilling screws, the components are fastened together. The screws must be placed on top of the rib and must penetrate the purlins. For overlapping layers ensure that the two panels are aligned and before fastening.